Mt Fuji Climbing Tour: Quick Summary
Planning your first Mt Fuji climb? Here are the essential facts to know before you book. Conditions vary by tour and season, so always confirm the latest details with each operator before purchasing.
| Detail | Information |
|---|---|
| Cost (guided, 2-day 1-night) | ¥25,000–¥65,000 (transportation, hut, guide included) |
| Trail Access Fee | ¥2,000/person (from 2024; may be included in tour) ※official info |
| Climbing Season | Early July to early September (varies by route) |
| Difficulty | Intermediate (3,776m; requires fitness and proper gear) |
| Total Time (2-day) | Ascent 6–8 hours; descent 3–5 hours |
| Recommended Route (Beginners) | Yoshida Trail (most mountain huts and rescue stations) |
| Access from Tokyo | Bus approx. 2.5 hrs / Tour bus includes pick-up |
| Summit Temperature (Summer) | 0–5°C (warm layers are essential) |
※Prices and regulations are subject to change. Always check the latest information on official websites.
5 Reasons Beginners Should Choose a Guided Tour
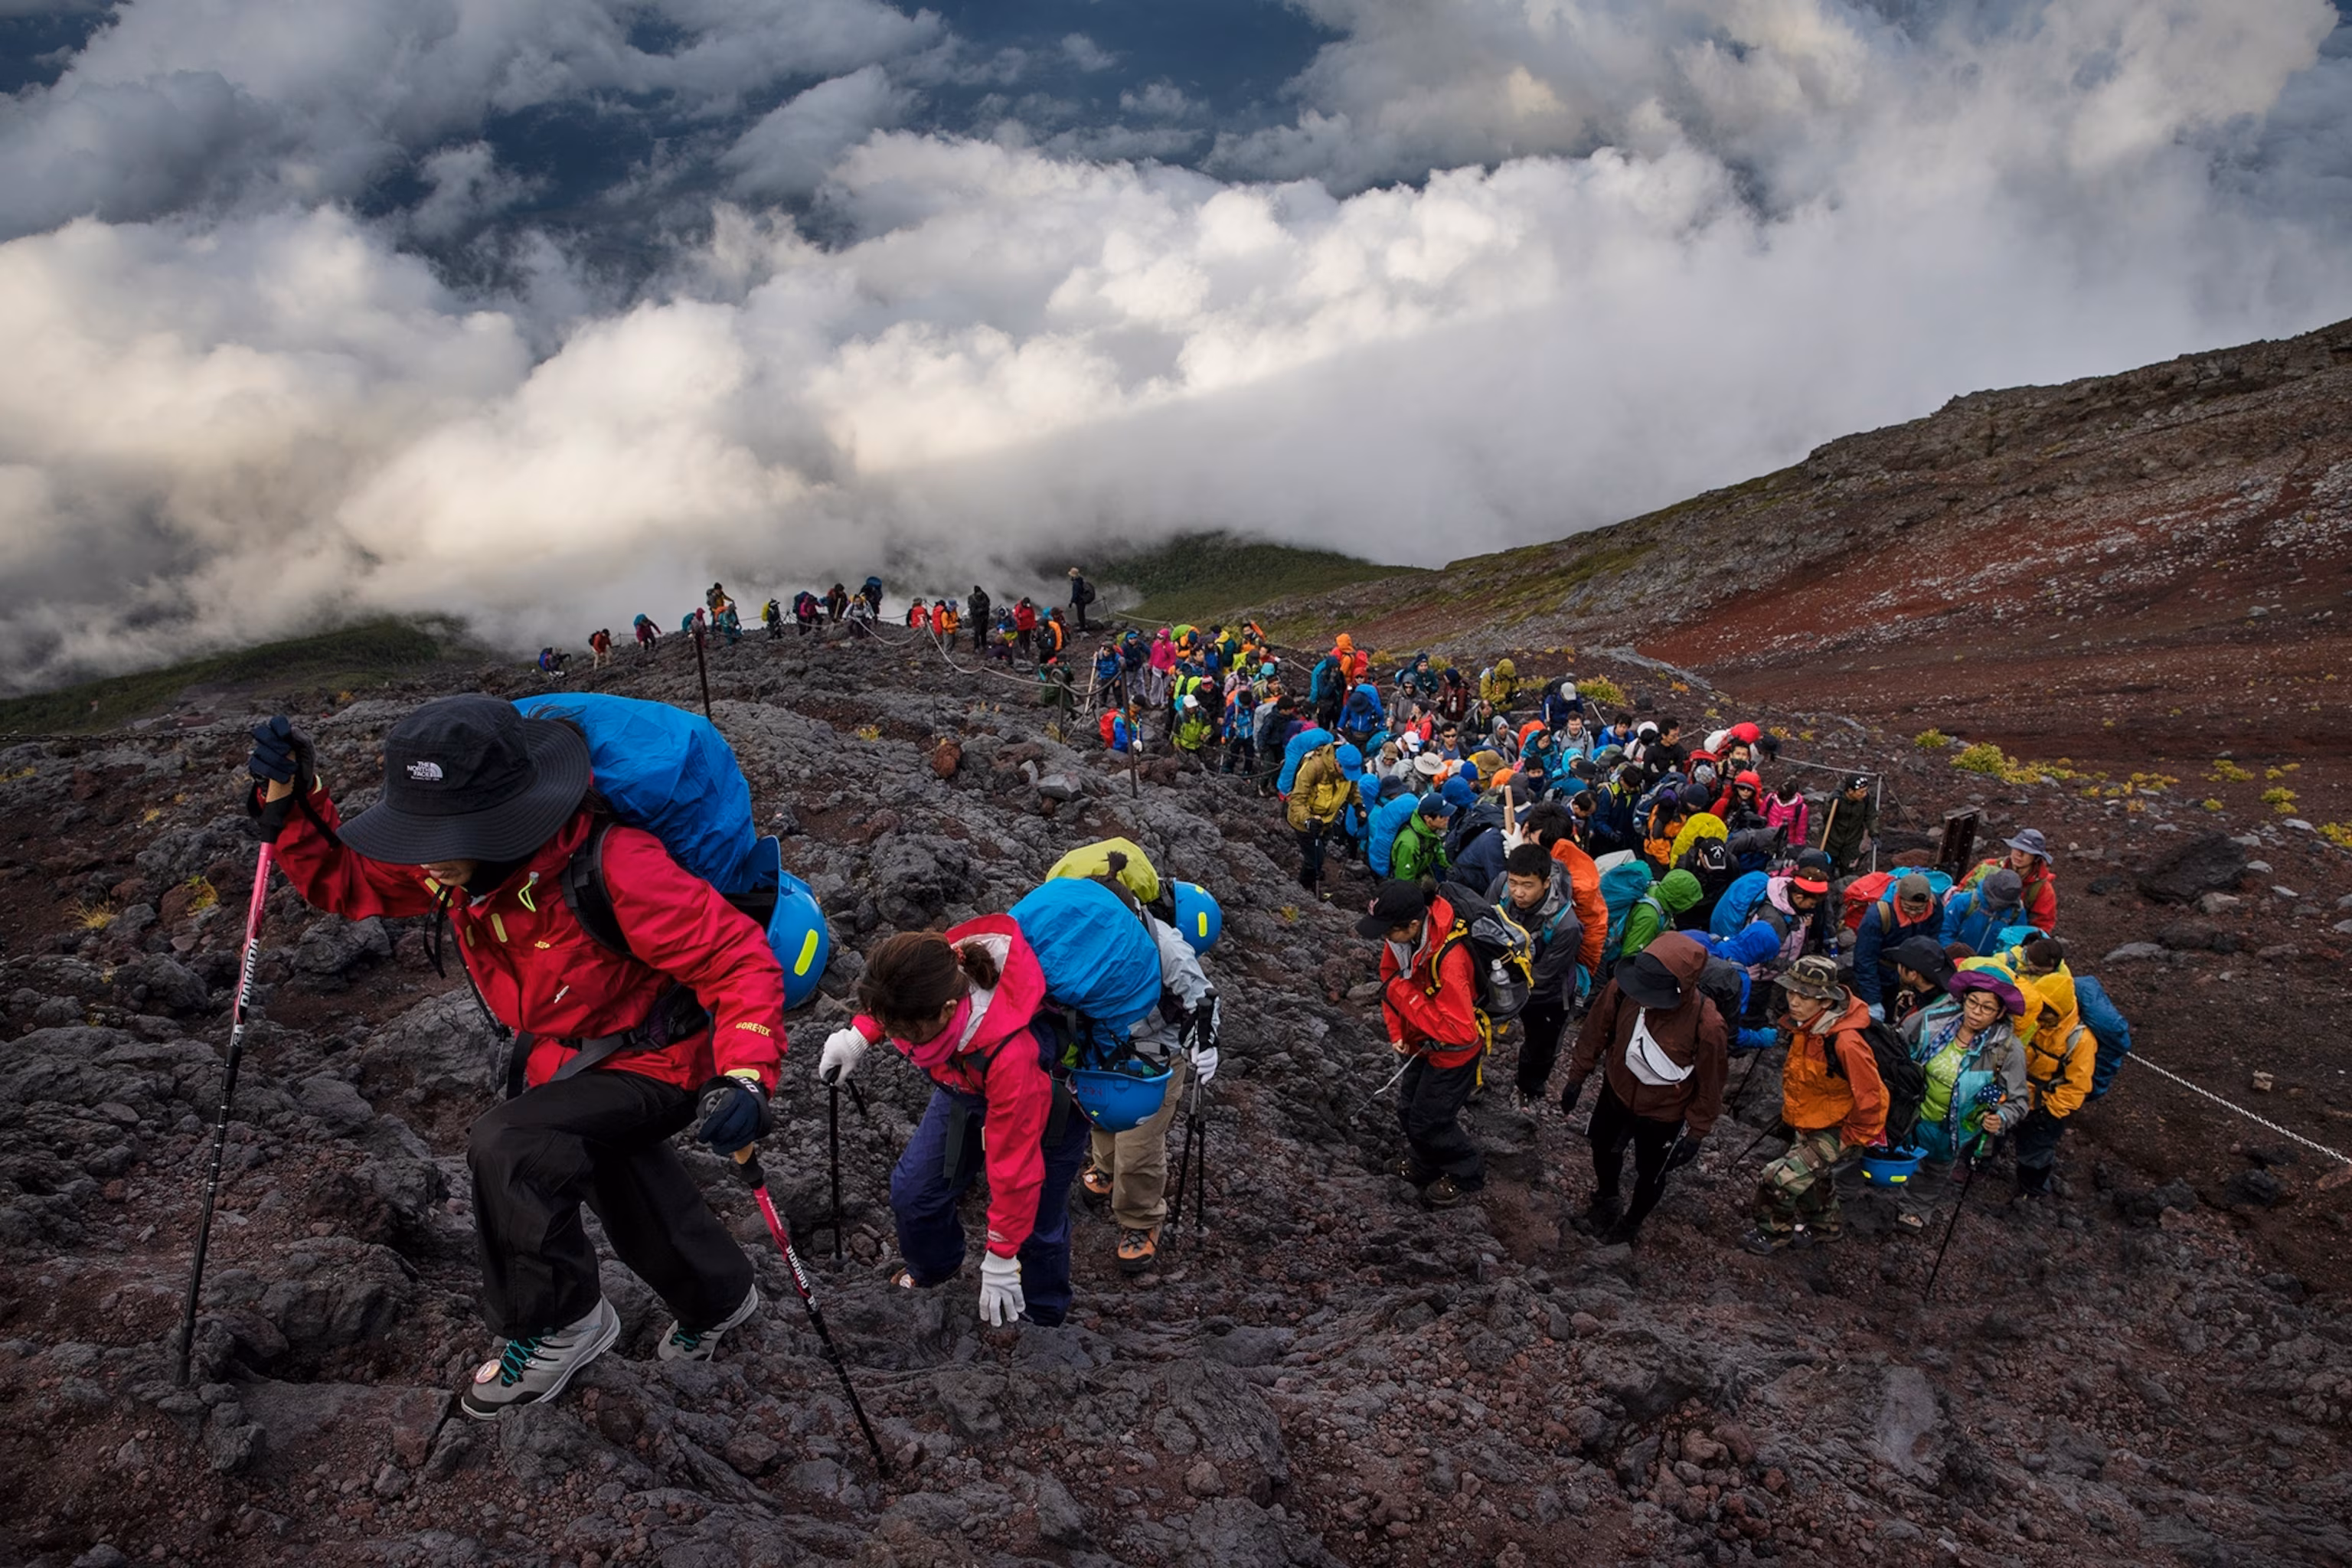
Many people wonder: "Can't I just go on my own?" Technically, yes. But Mt Fuji is Japan's highest peak at 3,776m — altitude sickness is a real risk, and the weather can change dramatically without warning. For first-timers, guided tours offer clear, tangible advantages.
1. Pace Management Is the Key to Summiting
The number one cause of altitude sickness is climbing too fast. From the 5th Station to the summit, you gain roughly 1,450m in elevation. Inexperienced climbers often sprint out of the gates and run out of steam near the 8th Station.
An experienced guide monitors the group's condition and calls breaks at exactly the right moments. Knowing whether your current pace is "too fast" is surprisingly difficult to judge on your own — especially when you feel good at lower altitudes.
2. Zero Hassle with Reservations and Permits
Since 2024, the Yoshida Trail requires advance online registration. Mountain hut bookings — essential for any overnight climb — routinely sell out a month or more in advance during peak season.
Tours handle all of this for you. Participants don't need to navigate Japanese-language booking portals or monitor availability. This is especially valuable for international visitors unfamiliar with the Japanese systems.
3. Expert Decision-Making in Emergencies
Sudden weather, nausea, disorientation, wrong turns — even experienced climbers encounter these. Guides are trained to handle emergencies, including calling for rescue assistance if necessary.
Solo climbers face a subtle psychological trap: when you're near the summit, turning back feels like failure. A guide provides objective, safety-first judgment that removes that emotional burden from you.
4. Gear Rental Means You Can Travel Light
Buying waterproof hiking boots, rain gear, a headlamp, and a pack from scratch can cost ¥20,000–50,000. For a once-in-a-lifetime climb, that's a significant outlay for gear you may never use again.
Many tour packages include equipment rental as an option or bundle. Some even allow you to pick up and return gear at the 5th Station, so you board the bus from Tokyo with just a daypack.
5. Total Cost Is Comparable to Going Alone
Tour packages look expensive at first glance. But when you add up bus fares, mountain hut fees, meals, equipment rental, and a separately booked guide, the individual costs often exceed the all-in tour price. Factor in the peace of mind and the reduced risk of a failed summit, and guided tours often represent better value.
Solo Climbing vs Guided Tour: Full Comparison
Both options are viable — what matters is matching the choice to your experience level, language comfort, and travel style. Use this table to make your decision.
| Item | Solo / Independent | Guided Tour |
|---|---|---|
| Transportation | Book your own bus or train + bus | ✓ Hotel pick-up + tour bus included |
| Trail Access Registration | Handle yourself via Japanese website | ✓ Tour handles everything |
| Mountain Hut Booking | Contact each hut yourself (Japanese) | ✓ Included in tour package |
| Pace Management | Self-directed (altitude sickness risk) | ✓ Guide manages group pace |
| Gear | Rent or buy separately | ✓ Rental packages available |
| Emergency Support | Self-reliant | ✓ Guide handles decisions |
| Schedule Flexibility | ✓ Fully flexible | Follow tour itinerary |
| Estimated Total Cost | ¥15,000–25,000 (no guide) | ¥25,000–65,000 (all-inclusive) |
| Beginner Rating | ★★☆☆☆ | ★★★★★ |
"Why book a tour when I can go alone?" is a question I hear constantly. But Mt Fuji sees many altitude sickness rescues and hypothermia cases every season. A guide's most important job isn't showing you the route — it's making the right call to turn back when necessary. Reaching the summit matters far less than returning safely.
— Editorial Staff, 8-time Mt Fuji SummiteerThe 4 Official Climbing Routes: Full Comparison
Mt Fuji has four official trails, each with a different starting point, difficulty level, and crowd density. Tour operators typically use one specific route — check which one your tour uses before booking.
Yoshida Trail (Yamanashi Prefecture)
The most popular and beginner-friendly route. Its 5th Station sits at 2,305m — the highest starting point of all routes — which reduces total elevation gain. It has the largest number of mountain huts of any route, with rescue stations and shops well distributed along the way.
The downside: it is the most crowded trail. Since 2024, it enforces a daily limit of 4,000 climbers and requires advance online registration. Nighttime traffic heading up for sunrise can create bottlenecks near the summit.
- 5th Station elevation: approx. 2,305m
- To summit: approx. 6–7 hrs ascent, 3–4 hrs descent
- Difficulty: Intermediate (beginner-friendly)
- Mountain huts: approx. 20 (most of any route)
Fujinomiya Trail (Shizuoka Prefecture)
The shortest route to the summit and a strong alternative to Yoshida. Its 5th Station at 2,400m is the highest starting elevation on any route, reducing the total climb. It is well-suited to visitors coming from Osaka or Nagoya via the Tokaido Shinkansen.
The steeper gradient means your legs take more punishment on the descent, and unlike the Yoshida Trail, there is no separate descent path — you go up and come down the same way. Fewer huts than Yoshida but less congested overall.
- 5th Station elevation: approx. 2,400m
- To summit: approx. 5–6 hrs ascent, 3–4 hrs descent
- Difficulty: Intermediate (moderately steep)
- Mountain huts: approx. 10
Subashiri Trail (Shizuoka Prefecture)
A quieter, more off-the-beaten-path option. The lower trail section passes through forest, offering welcome shade on sunny days — something the other routes lack. Crowds are significantly thinner than on the Yoshida Trail.
At the 6th–7th Station boundary, the Subashiri Trail merges with the Yoshida Trail, so you'll encounter crowds in the final stretch. The volcanic sand descent (called "Sunabashiri") is exhilarating but requires extra protection from flying grit.
- 5th Station elevation: approx. 2,000m
- To summit: approx. 7–8 hrs ascent, 3–4 hrs descent
- Difficulty: Intermediate
- Notable features: forested lower section, sandy descent
Gotemba Trail (Shizuoka Prefecture)
The longest, most demanding, and least-traveled route on the mountain. Its 5th Station is at just 1,440m, meaning the total elevation gain from base to summit exceeds 2,300m. Mountain huts are sparse. This route is best left to experienced hikers.
The reward: you may feel like you have an entire side of Japan's most iconic mountain entirely to yourself. The views are vast and unspoiled. The famous "Ōsunabashiri" descent is the longest and most dramatic sand-run on the mountain.
- 5th Station elevation: approx. 1,440m
- To summit: approx. 9–10 hrs ascent, 4–5 hrs descent
- Difficulty: Advanced
- Beginners: Not recommended
What's Included in a Climbing Tour: What You Pay For and What You Don't
Tour pricing varies significantly depending on what's bundled. Before booking, always confirm what is and isn't included. Below is a general breakdown for a standard guided 2-day 1-night climb.
✅ Typically Included
- Round-trip tour bus from Tokyo
- English-speaking (or multilingual) guide
- 1-night mountain hut stay (shared room)
- Dinner and breakfast at mountain hut
- Trail access registration support
- Group travel insurance
🔧 Optional Add-ons (Extra Cost)
- Equipment rental set (¥8,000–10,000)
- Trail access fee (¥2,000)
- Conservation donation (¥1,000, voluntary)
- Private guide upgrade
- Professional photography service
- Food and drinks at the summit
❌ Usually Not Included
- Toilet fees at mountain huts (¥200–300)
- Personal food and drink purchases
- Summit souvenirs and merchandise
- Personal travel insurance
- Post-descent hot spring or meals (varies)
What's in a Typical Rental Equipment Set
Gear rental packages typically include the items below. Many services let you pick up and return equipment at the 5th Station — meaning you can board the bus from Tokyo in everyday clothes with just a light bag.
- Waterproof high-ankle hiking boots (multiple sizes available)
- Gore-Tex rain jacket and pants
- Headlamp (with spare batteries)
- Trekking poles (pair)
- Daypack (20–25L)
Best Timing: When Should You Climb?
Your choice of timing shapes your entire Mt Fuji experience — from the crowds you'll face to the weather overhead. Balance temperature, congestion, and trail conditions carefully.
| Period | Conditions | Beginner Rating |
|---|---|---|
| Weeks 1–2 of July | Just after opening. Some residual snow. Fewer crowds. Weather can be unstable | ★★★☆☆ |
| Mid–Late July | Post-rainy season. More stable weather. Crowds building | ★★★★☆ |
| Early August (pre-Obon) | Peak season. Huts fully booked; trail congestion guaranteed | ★★☆☆☆ |
| Obon (Aug 10–18) | Busiest period of the year. Severe nighttime trail congestion | ★☆☆☆☆ |
| Late Aug – Early Sept | Crowds ease significantly. Cooler but quieter | ★★★★★ |
| Week 2 of September+ | Huts start closing. Gear requirements increase | ★★★☆☆ |
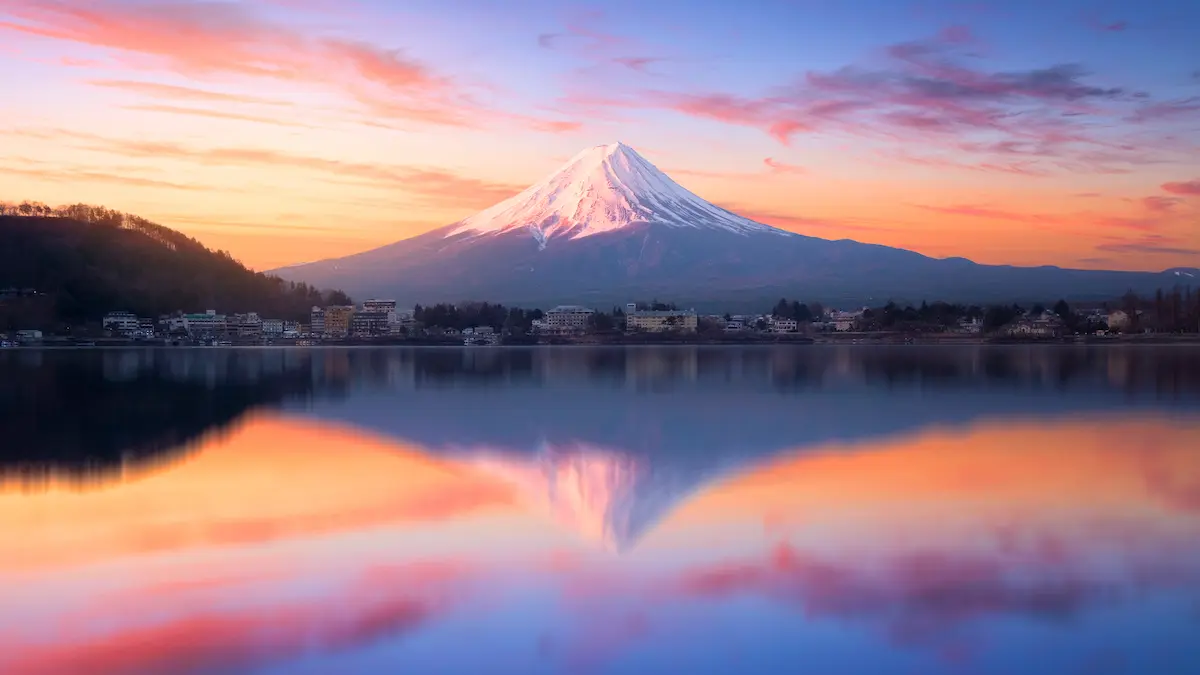
Catching the Sunrise (Goraiko) from the Summit
Witnessing the sunrise from Mt Fuji's summit is the defining goal of most climbing tours. Sunrise times range from around 4:40am in late July to 4:55am in mid-August (approximate). To be on the summit for this moment, you need to begin your climb the night before.
A typical itinerary has climbers leaving the 5th Station between 10pm and midnight, resting for 2–3 hours at the 8th Station mountain hut, then pushing for the summit from around 2–3am. All guided overnight tours incorporate this schedule.
How to Avoid the Crowds
- Climb on a weekday: Weekend trails are significantly more congested. Tuesday–Thursday are the sweet spot
- Target the first two weeks of July: Fresh season, open huts, minimal crowds
- Late August to early September: Congestion drops sharply while the season remains open
- Consider Subashiri or Gotemba routes: Much less traffic than Yoshida Trail (Gotemba for experienced climbers only)
- Book 2–3 months ahead for peak dates: Weekend slots in August fill up fast
Saving Money: Discounts and Smart Booking Tips
A Mt Fuji climb isn't cheap, but thoughtful planning can cut costs without cutting corners on safety or experience.
🎓 Student and Children's Rates
Most tour operators offer age-based pricing:
- Ages 6–11: 30–50% off adult price on most tours
- Under 3s: Free on bus tours (seat not required; confirm first)
- Student discounts available on select plans with valid ID
- Some operators offer senior discounts as well
🎲 Early Booking Discounts
Booking early pays off — especially for August dates:
- 30 days in advance: 5–10% off on some plans
- 60 days in advance: Special early-bird rates available (plan-dependent)
- Choose free-cancellation plans for peace of mind
- Peak dates (weekends, Obon) sell out 2–3 months ahead
🏠 Provide Your Own Gear
Selective gear ownership reduces rental costs:
- Budget rain jackets from outdoor retailers start at around ¥5,000
- Basic headlamps from hardware stores: ¥1,500+
- Hiking boots: never compromise on these — waterproof high-ankle are non-negotiable
- Trekking poles: rentable on-site for ¥500–1,000 per pole
🚌 Combination Tour Packages
Bundled tours often provide better overall value:
- Mt Fuji climb + Lake Kawaguchi / Oshino Hakkai combo
- Climb + Hakone hot spring the following day
- Tokyo departure package including Shinkansen experience
- Group discounts for 2+ travelers on many platforms
Cut Spending at the Mountain Huts
Mountain hut prices are steep — water runs ¥500+, instant noodles ¥1,000+. Stock up at the 5th Station convenience store before you start climbing. The price difference is significant. And always carry cash: card payments are not accepted at most huts.
Physical Preparation: How to Get Ready for the Climb
A Mt Fuji climb is a 6–8 hour ascent followed by a 3–5 hour descent. You don't need to be an athlete, but you do need a baseline of cardiovascular fitness. Preparation in the weeks before your climb makes an enormous difference to both your summit success rate and your enjoyment on the day.
Training: 4–8 Weeks Before Your Climb
No special equipment or gym membership required. Build a base using these daily-life options:
- Brisk walking: 3–4 times per week, 30–60 minutes per session. Actively seek out hills and stairs
- Take the stairs: Skip elevators and escalators at the office, train stations, everywhere. Consistent elevation gain builds leg endurance fast
- Light jogging: 20–30 minutes twice a week to build aerobic capacity
- A practice hike: One month before your climb, attempt a local mountain of 500–1,000m. This gives you real-world feedback on your fitness level and gear
The Night Before and Morning of Your Climb
- Sleep well and stay well-hydrated the day before. Avoid alcohol
- Eat a solid, carb-forward breakfast on the morning of departure
- Double-check all gear before leaving (headlamp battery check is critical)
- Check the summit weather forecast — conditions differ dramatically from the base
Altitude Sickness: Prevention and Response
Altitude sickness can strike anyone, regardless of age or fitness. Above 2,500m, oxygen levels drop to roughly 75–80% of sea level concentration. Symptoms include headache, nausea, and dizziness.
- Climb slowly — aim for no more than 200–300m of elevation gain per hour
- Drink water steadily (avoid caffeine and alcohol on the mountain)
- Spend at least 1 hour at the 5th Station before starting to climb
- Breathe consciously and deeply throughout the ascent
- If symptoms worsen, descend immediately — altitude loss is the only reliable cure
Cost Comparison: Trail Fee Only vs All-In Tour Package
To accurately assess your budget, you need to tally every cost component. This table compares the total spend of independent climbing against a guided package for a 2-day 1-night Tokyo-based trip (estimated using 2024 data as reference).
| Cost Item | Independent | Guided Tour Package |
|---|---|---|
| Transportation (round-trip) | ¥5,900+ (express bus, round-trip) | ✓ Included |
| Trail Access Fee | ¥2,000 | Included in some plans / ¥2,000 separately |
| Mountain Hut (1 night, meals) | ¥8,000–12,000 | ✓ Included |
| Guide Fee | ¥10,000+ (hire separately) | ✓ Included |
| Equipment Rental | ¥8,000–10,000 (arrange separately) | Optional add-on or included in some plans |
| Estimated Total | ¥33,900+ (without guide) | ¥25,000–65,000 (all-inclusive) |
※Figures are estimates. Actual costs vary by season and provider. Always verify current pricing on official websites before booking.
The idea that "tours are overpriced" doesn't hold up to scrutiny. When you individually book transport, a mountain hut, a guide, and gear rental, the total often exceeds a comparable all-in tour price. The real calculation should be: "What is total cost, and what is total risk?" For first-timers, tours typically win on both counts.
— Editorial Research Team, Mt Fuji Tour AnalysisGear Checklist: What to Pack for Mt Fuji
"It's summer, so I can go light" — this is one of the most dangerous assumptions first-timers make. The summit in August hovers between 0–5°C, and wind, rain, and hail can appear out of nowhere. The right gear is the foundation of a safe and enjoyable climb.
Essentials (Non-Negotiable)
- Waterproof hiking boots (high-ankle; no trail runners or sneakers)
- Rain jacket and pants (Gore-Tex or equivalent — not a cheap plastic poncho)
- Headlamp (mandatory for night climbing; bring spare batteries)
- Warm layers (fleece base + lightweight down or synthetic jacket)
- Gloves (waterproof and windproof)
- Hat (beanie for summit; brim hat for sun lower down)
- Water — 1.5–2L (hut prices are steep: ¥500+ per bottle)
- Snacks and energy food (chocolate, nuts, energy gels)
- Cash — ¥5,000–10,000 (most huts don't take cards)
- 100-yen coins (toilet fees; bring plenty)
- Rubbish bag (pack out everything you pack in)
Highly Recommended
- Trekking poles (huge help on the knees during descent)
- Sunglasses (UV protection at high altitude is important)
- Sunscreen SPF50+ (UV intensity increases with altitude)
- Lip balm (cold, dry air dries lips fast)
- Buff or neck gaiter (volcanic dust protection and warmth)
- Portable phone charger
- Zip-lock bags (waterproof your phone, passport, cash)
- Earplugs (mountain hut dormitory sleeping is communal)
- Eye mask (lights don't always go fully off in huts)
- Oxygen spray canister (psychological comfort for altitude sickness anxiety)
Real Experiences from the Mountain
My first Mt Fuji climb was in my late twenties. I was fit, and I went solo via the Yoshida Trail. I set off at midnight, made excellent time to the 8th Station — then hit a wall just before the 9th. Headache, nausea, the works. I turned back and watched the sunrise from a lower viewpoint on the mountain.
My second attempt, two years later, was on a guided tour. The guide's pace felt almost comically slow at the start. But that was the point. I arrived at the summit with energy to spare, watched the sunrise from the crater rim at 3,776m, and felt entirely in control. I'd never have made it without the guided pacing. For anyone doing this for the first time: please, join a guided tour.
— Editorial Staff, 5-time summit (personal experience)The most consistent mistake I see at the upper mountain is inadequate warm clothing. Visitors arrive at the 5th Station on a warm August afternoon and assume they're prepared for the summit. They are not. A thin fleece is not enough. You need insulation plus a windproof rain shell. I have seen people shivering violently near the summit on clear summer nights with perfectly predictable 3°C temperatures.
The second-most common issue is footwear. I have watched dozens of people — wearing sneakers or canvas shoes — slip on the loose volcanic rock on the descent, injuring their ankles. Proper hiking boots are not optional. There is no substitute for them on this mountain.
— Mountain Rescue Volunteer, 15 years experience on Mt FujiFrequently Asked Questions
A 2-day 1-night guided tour typically runs ¥25,000–¥65,000. The price range reflects differences in inclusions (transport, gear rental, private vs. group guide). Always confirm what's included before booking. The trail access fee (¥2,000) may be included or charged separately. Prices vary by season and operator.
Yes, with proper preparation. People with a reasonable base fitness level can summit with a guided tour. Altitude sickness is a real risk at 3,776m — the key mitigations are: slow pacing, adequate hydration, proper acclimatization at the 5th Station, and following your guide's instructions. Prepare with 4–8 weeks of brisk walking or light hiking beforehand.
The official season is early July to early September. For beginners, mid-to-late July (post-rainy season, more stable weather) or late August to early September (crowds thin significantly) offer the best conditions. The Obon holiday period (approx. Aug 10–18) is the busiest stretch — avoid if possible.
For first-timers, guided tours are strongly recommended. They cover pace management, altitude sickness monitoring, emergency response, mountain hut bookings, and trail access registration — all in one package. Independent climbing offers more flexibility but requires you to navigate Japanese-language systems and make all critical judgments under altitude stress on your own.
The Yoshida Trail is the clear first choice for beginners. It has the highest density of mountain huts, rescue stations, and trail support infrastructure. For a slightly shorter climb with fewer crowds, the Fujinomiya Trail is also appropriate for first-timers. The Gotemba Trail is too long and remote for first-time climbers. The Subashiri Trail is a good middle ground for those wanting a quieter experience.
The non-negotiables: waterproof high-ankle hiking boots (no sneakers), Gore-Tex-grade rain jacket and pants, a headlamp with spare batteries for night climbing, warm layers (fleece + lightweight down), gloves, hat, 1.5–2L of water, snacks, cash (¥5,000–10,000), and 100-yen coins for toilets. Everything else is optional comfort. Most guided tours offer gear rental packages that cover the essentials.
Yes, but it requires navigating Japanese-language booking systems, and popular huts sell out 1–2 months in advance during peak season. Booking a guided tour means hut arrangements are handled for you with no additional effort. For first-time visitors, the tour route is significantly less stressful.
Take the First Step Toward the Summit
From beginner-friendly guided tours to challenging solo routes, there's a Mt Fuji climbing experience for every level. Book early — popular dates fill up months in advance.
Early booking discounts are available on many plans. Don't let your preferred date sell out.
Book a Climbing Tour ➔